Getting started
From install to a working RAG stack
Three steps take a fresh deployment to a live, self-hosted RAG stack: activate your license, connect the built-in API gateway to your local Ollama, and configure a model provider.
- Admin ▸ License
- Buy → pay
- Auto-activates
- Sovnex API ▸ console
- Add Ollama channel
- Create a token
- Settings ▸ Providers
- Add Sovnex API
- Use in Chat / RAG
Activate your license
Every deployment ships unactivated. You activate it once from the admin console. When you buy from the admin side, activation is automatic — you never copy a code by hand.
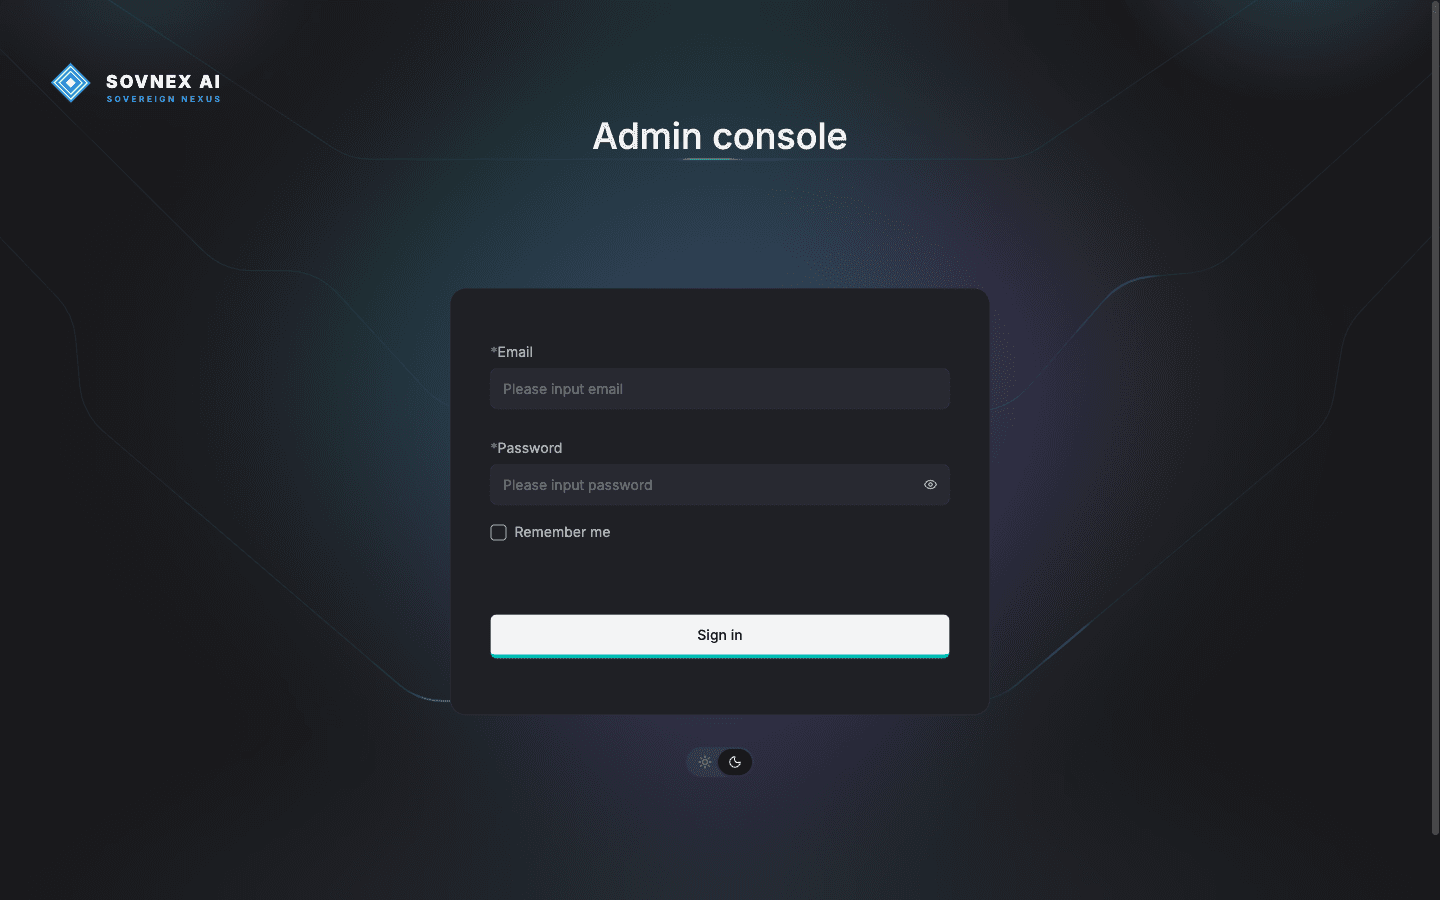
Sign in to the admin console
Open http://<your-host>/admin and sign in. A fresh install uses the default admin account admin@sovnex.io.
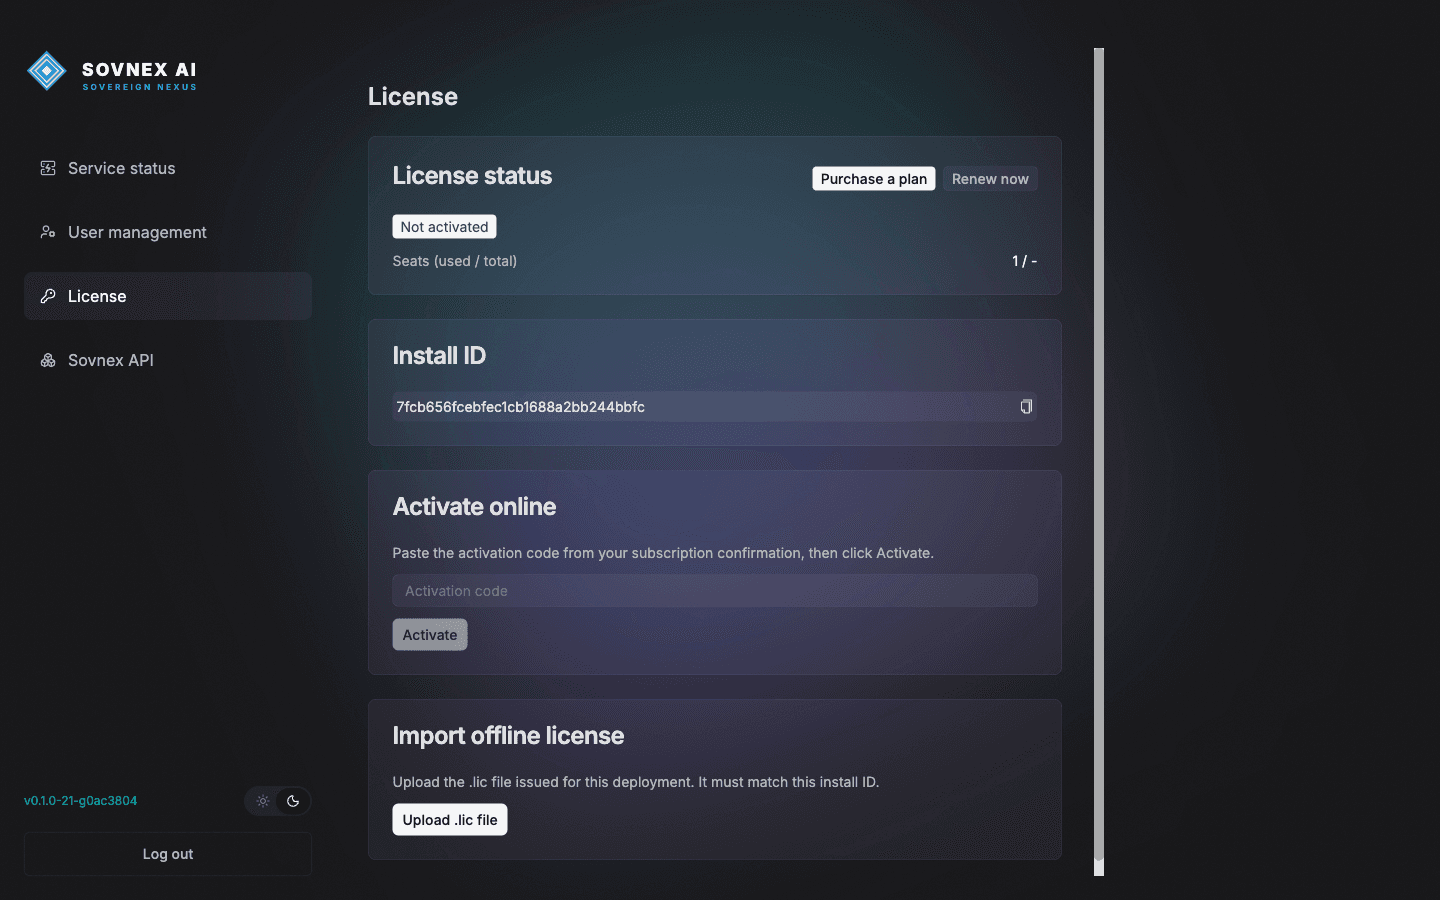
Open License — it reads "Not activated"
The License page shows the deployment status and a unique Install ID. Click "Purchase a plan": it carries this Install ID into checkout so the license binds to this exact deployment.
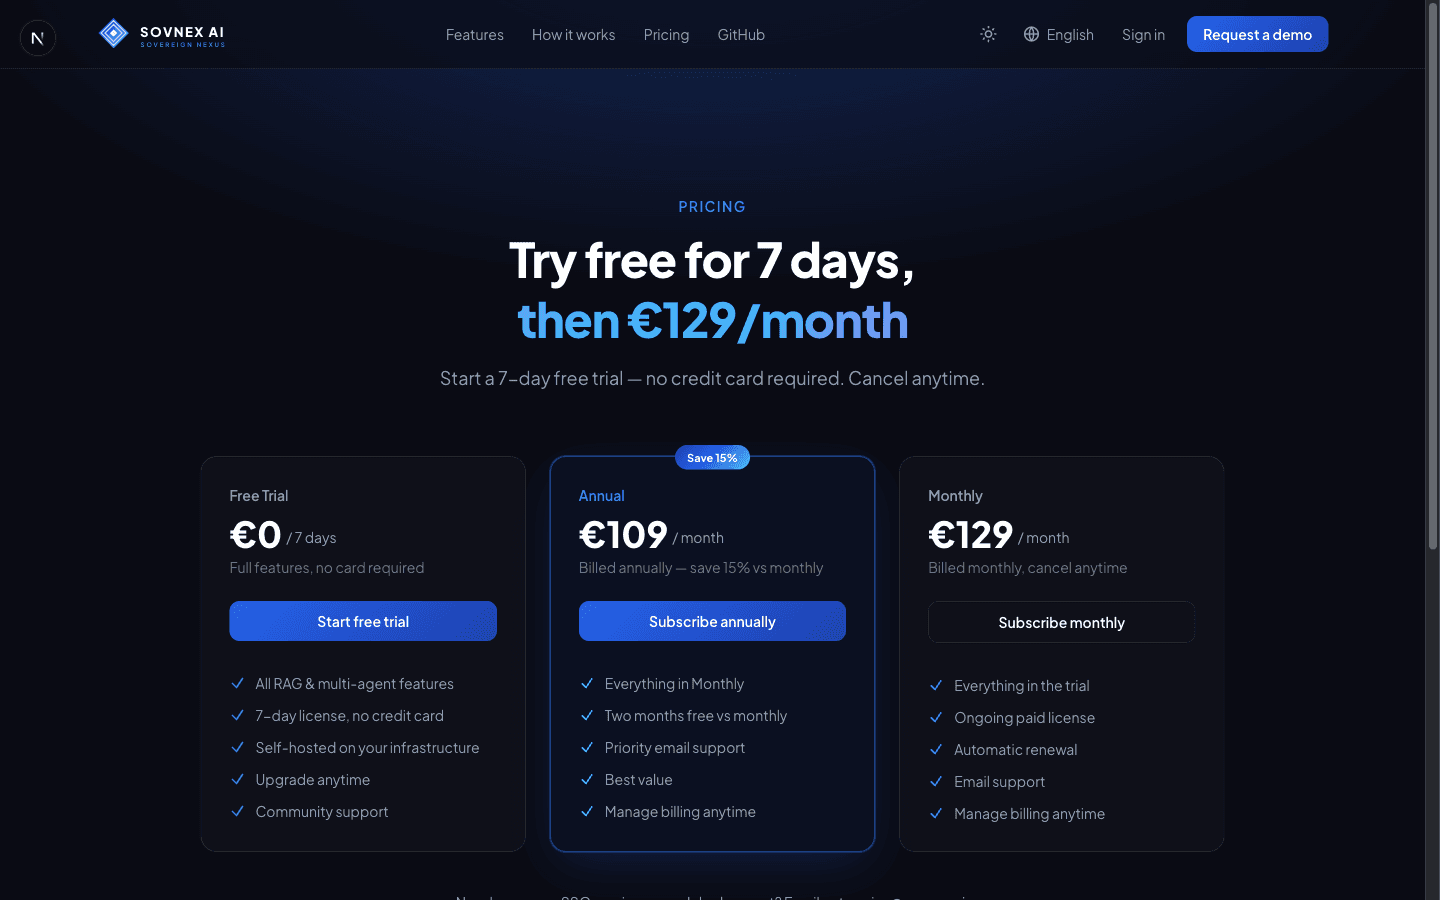
Choose a plan
The pricing page opens in your browser. Pick a plan — 7-day free trial, Monthly, or Annual. Your Install ID travels along in the link.
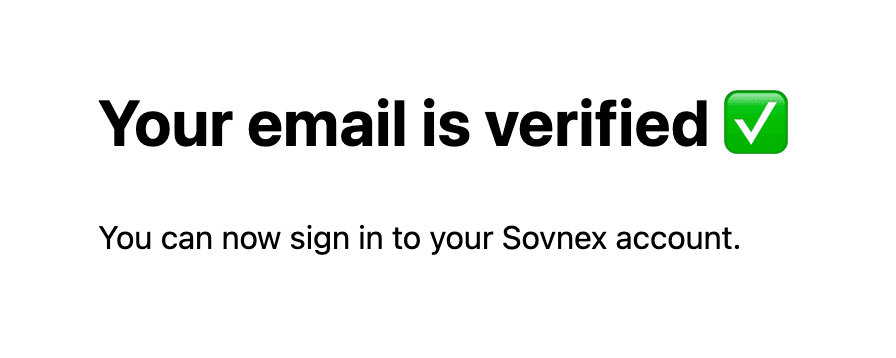
Register and verify your email
Create a portal account and confirm the verification email. You can then sign in to complete the purchase.
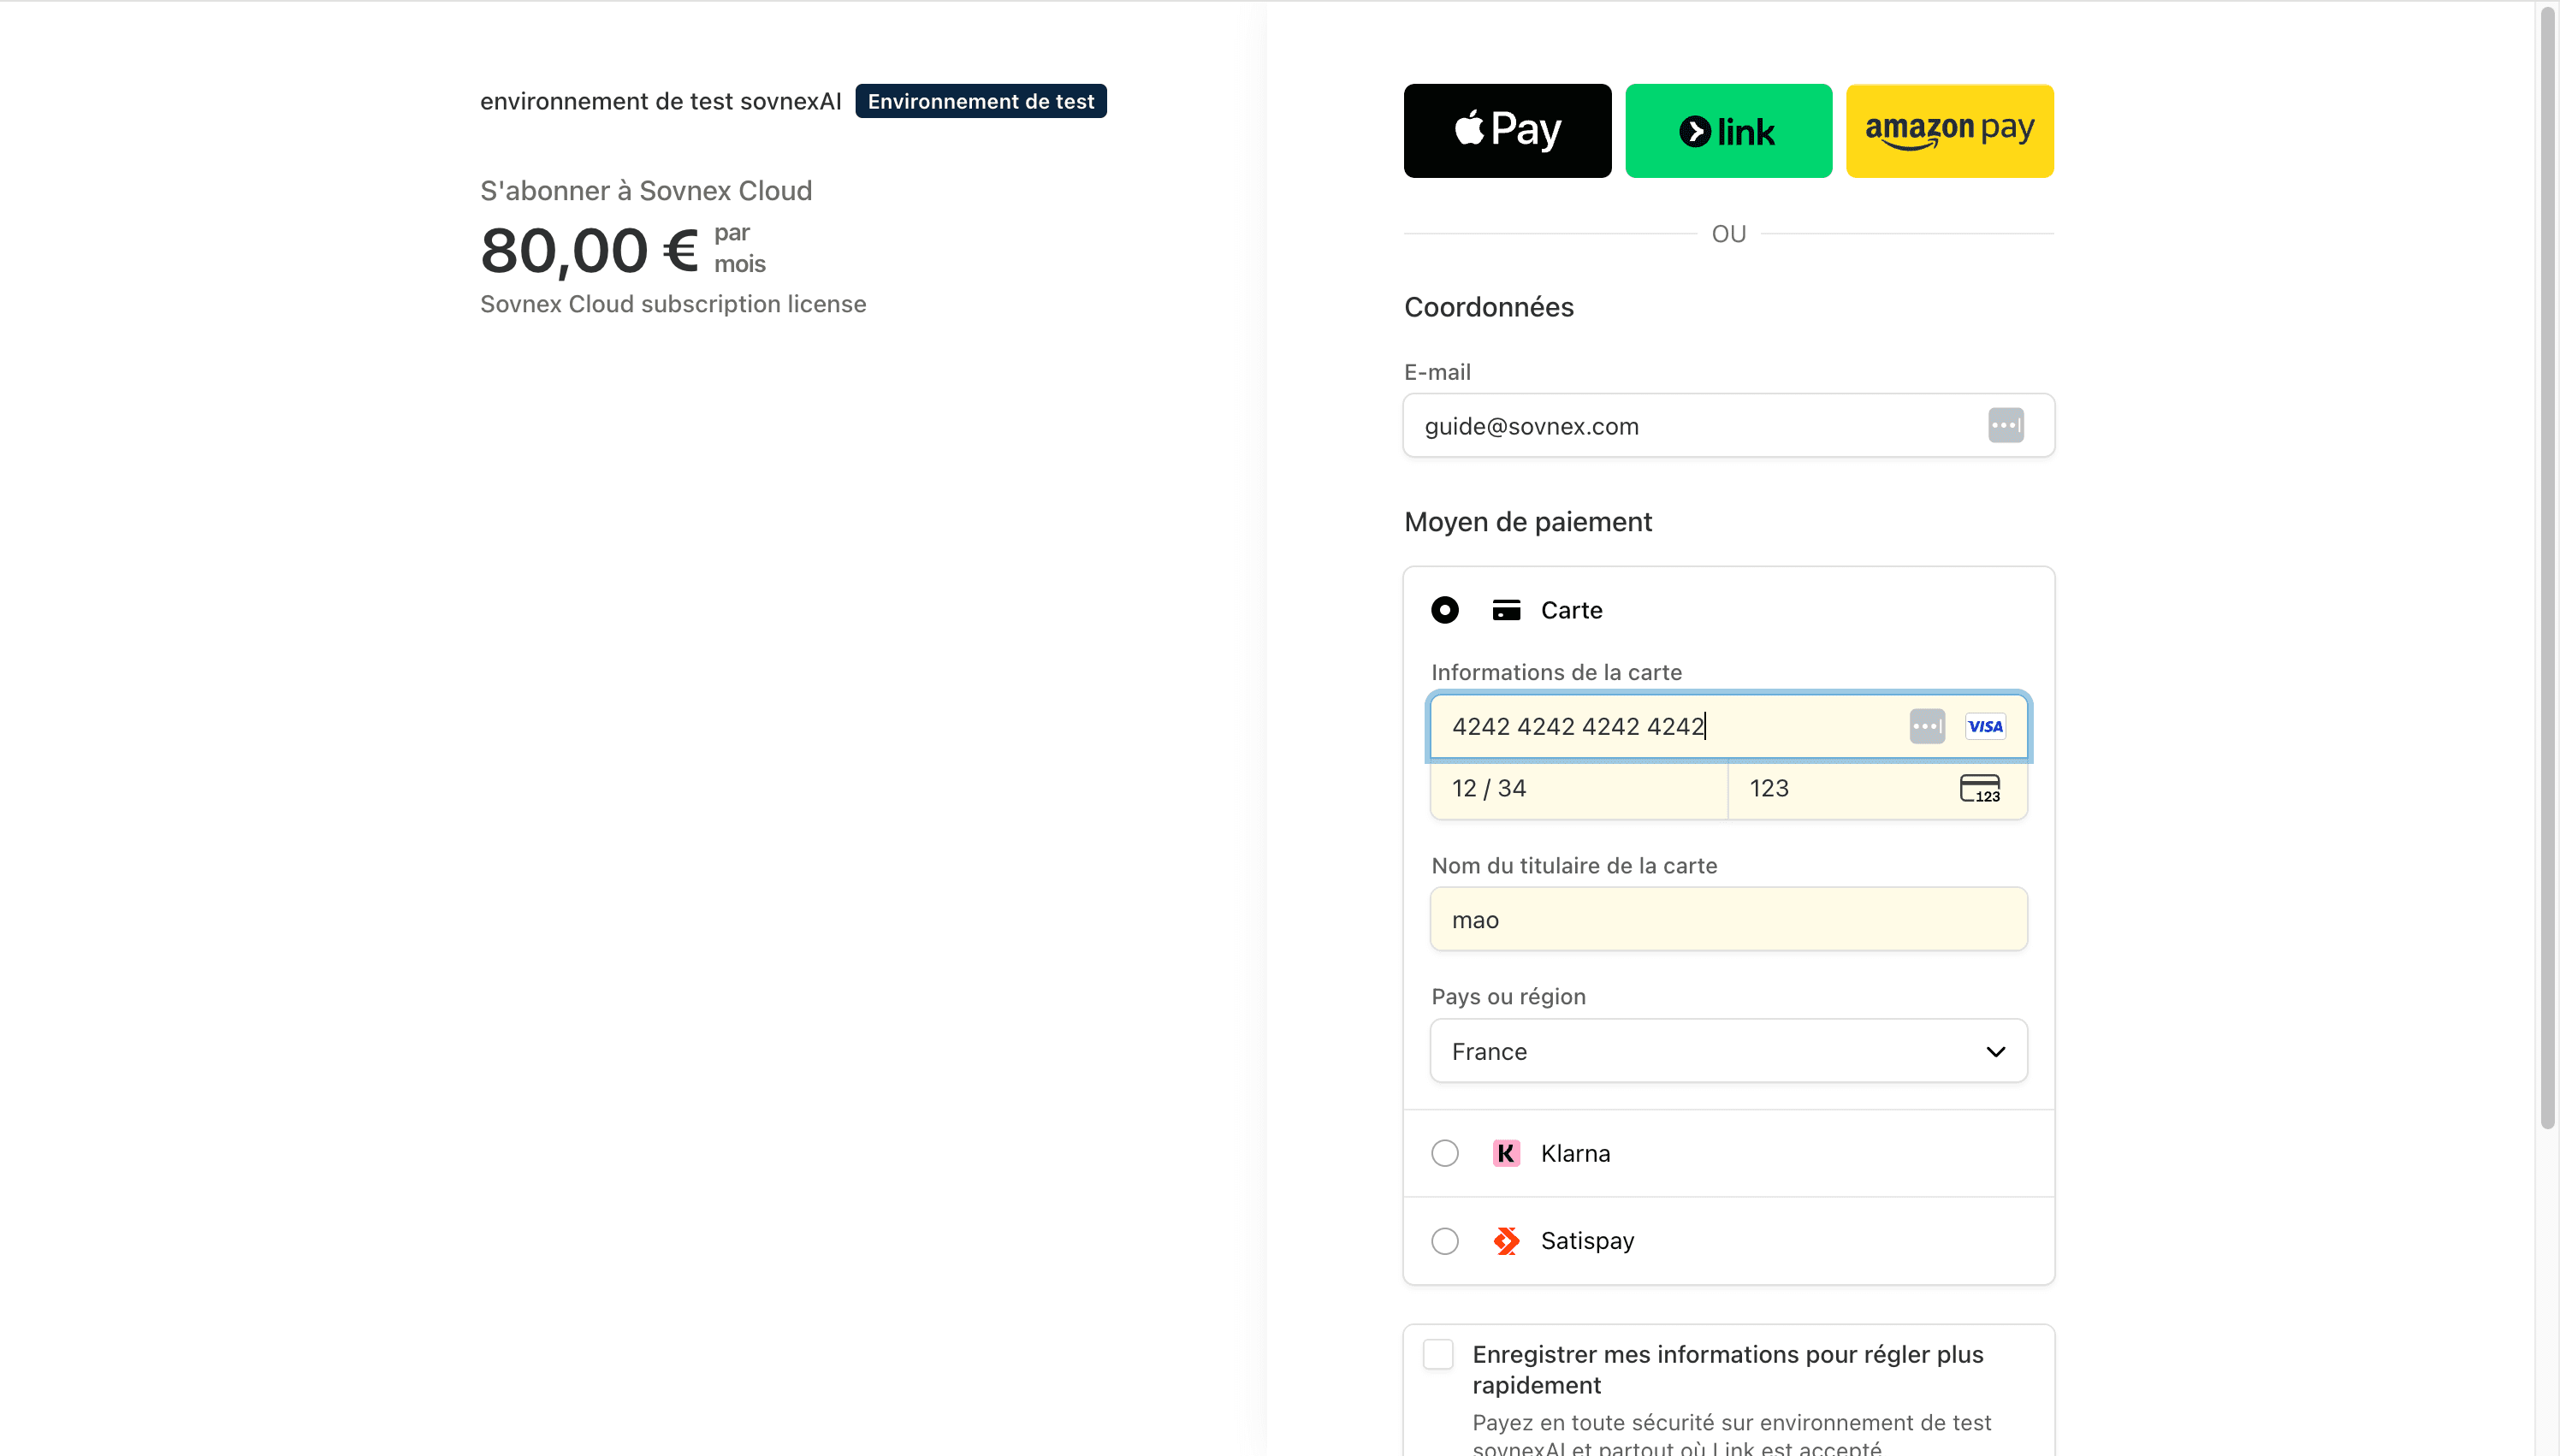
Pay with your card
Complete Stripe checkout. Testing the flow? Stripe test mode accepts the card 4242 4242 4242 4242 with any future expiry and any CVC.
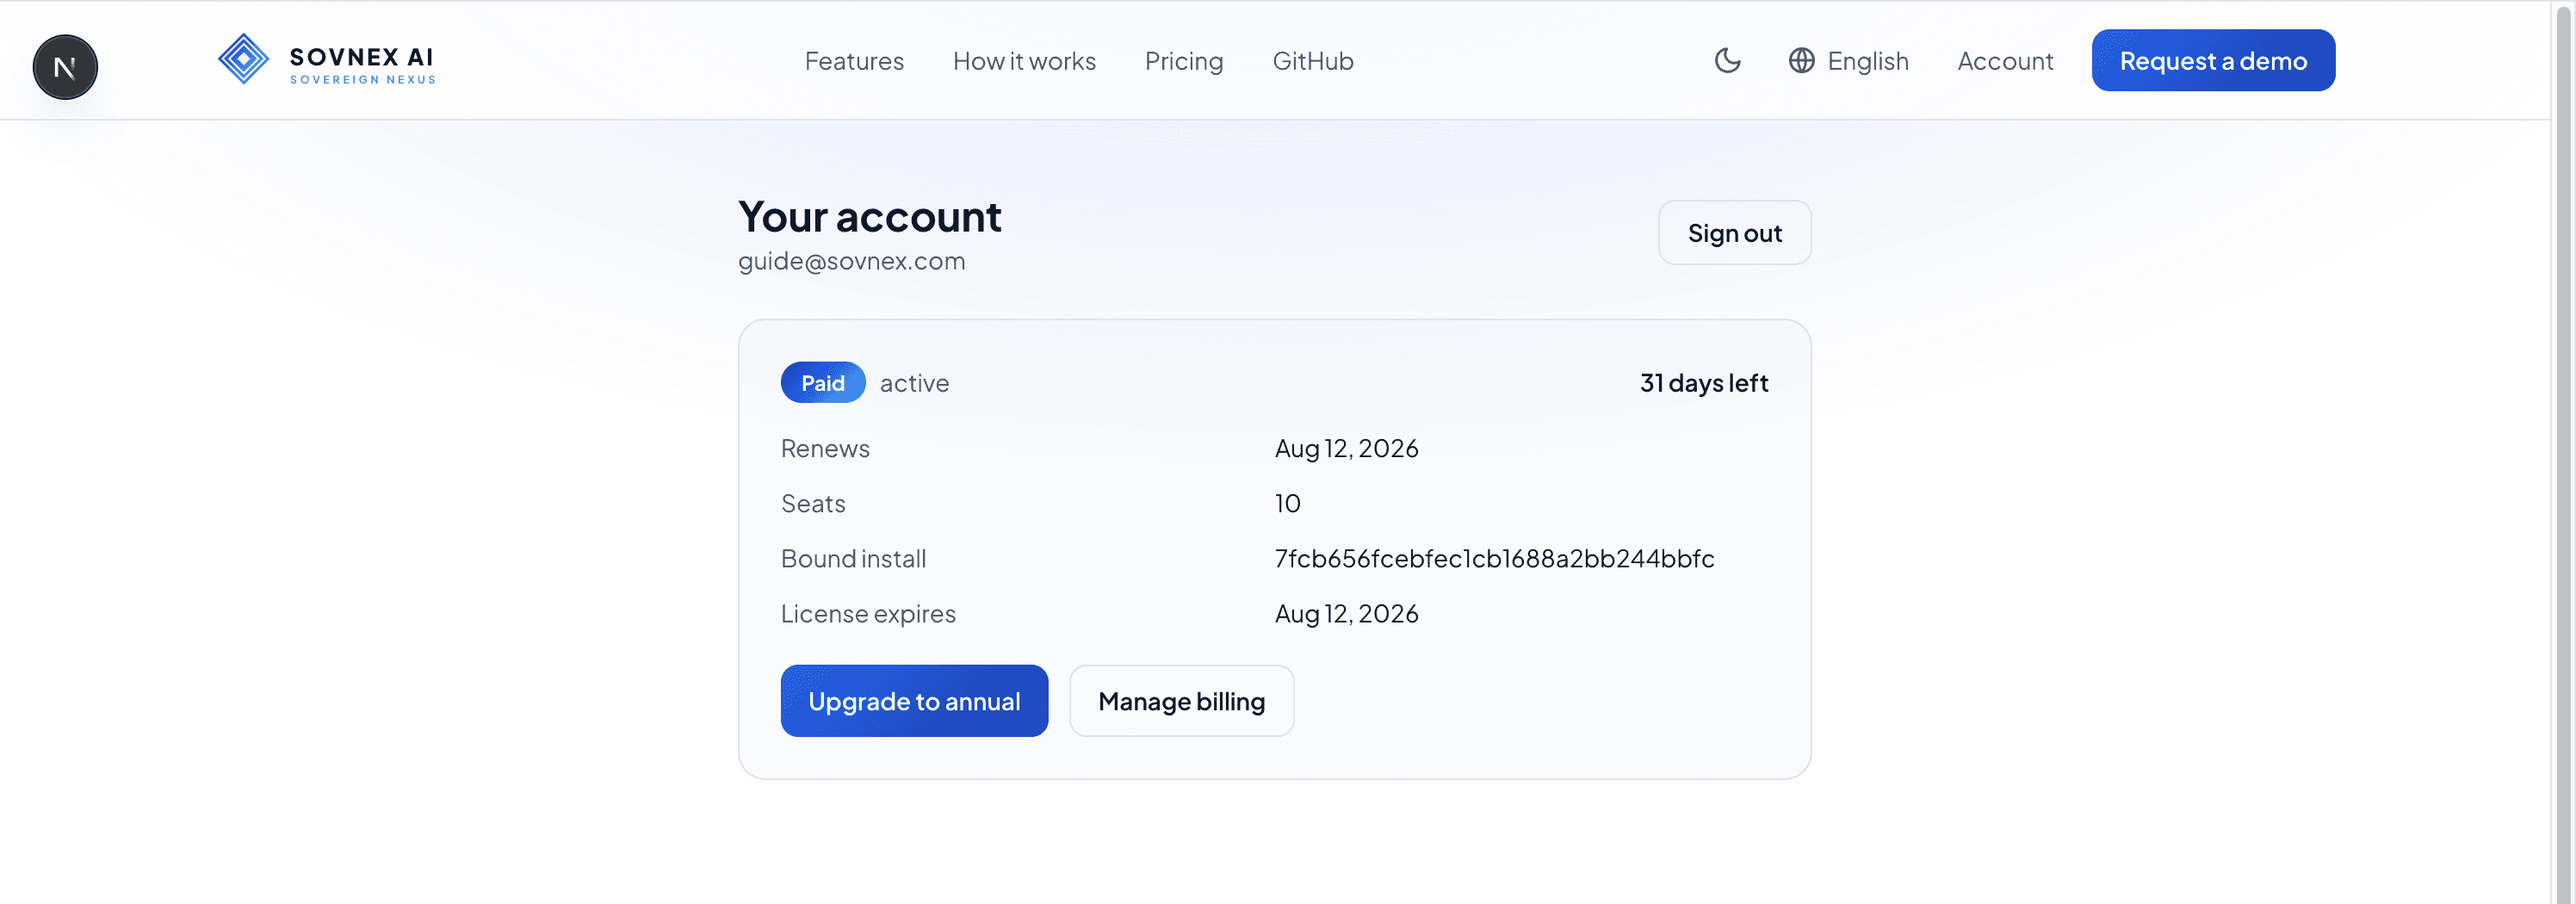
Subscription becomes active
Your portal account now shows Paid · active, the seat count, and the Bound install (your Install ID).
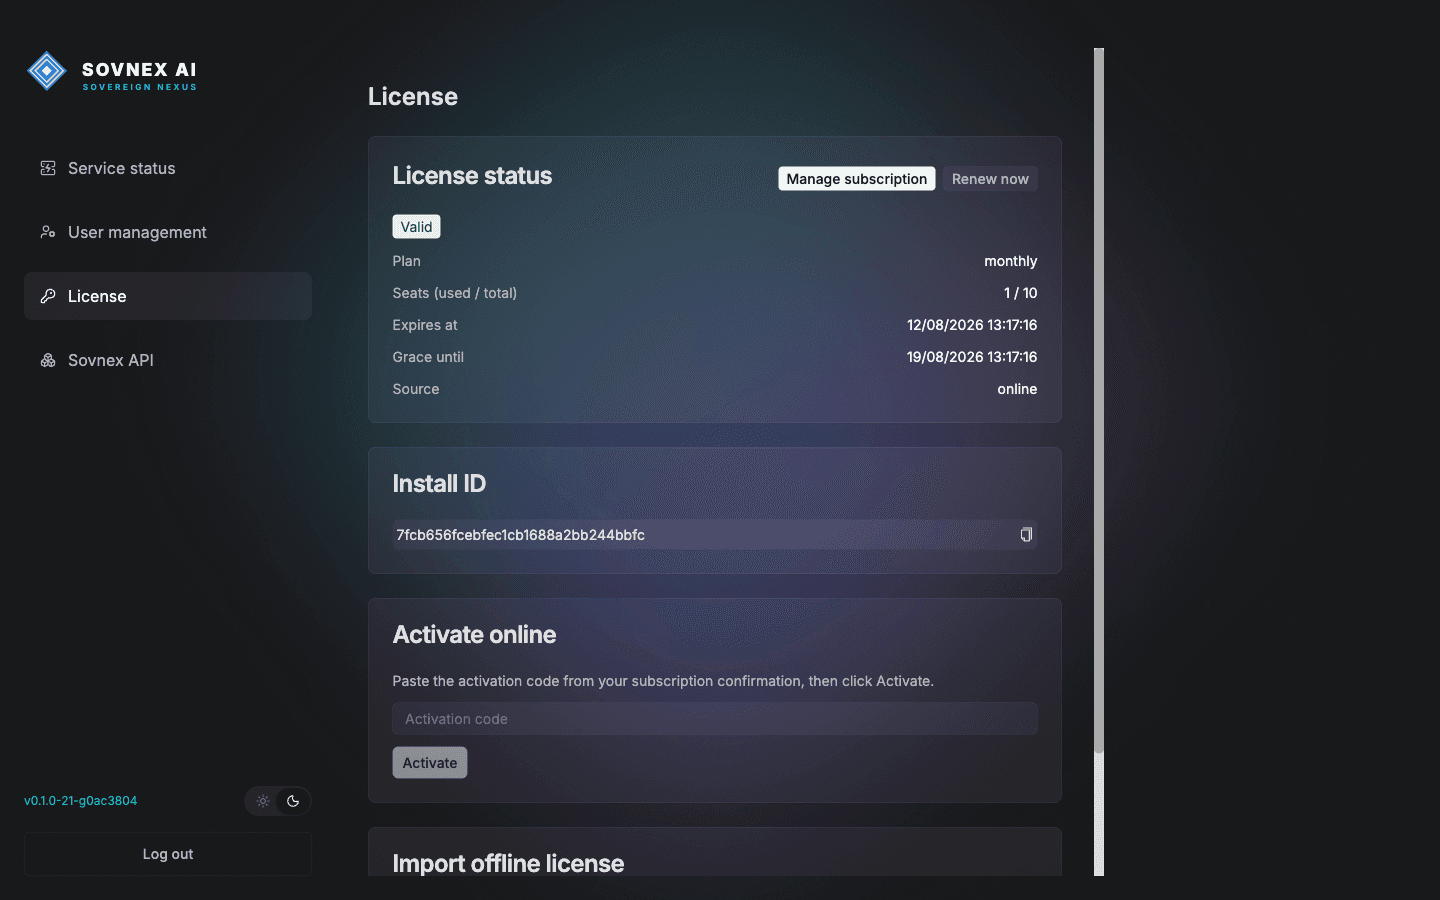
Your deployment activates automatically
Back on the admin License page, the status flips to Valid within about 30 seconds — plan, seats and expiry all appear. Nothing to copy.
Connect the API gateway to local Ollama
Sovnex ships a built-in, OpenAI-compatible API gateway. Point it at your local Ollama once, and every user's requests route through it — no per-user endpoints to manage.
Open the gateway console
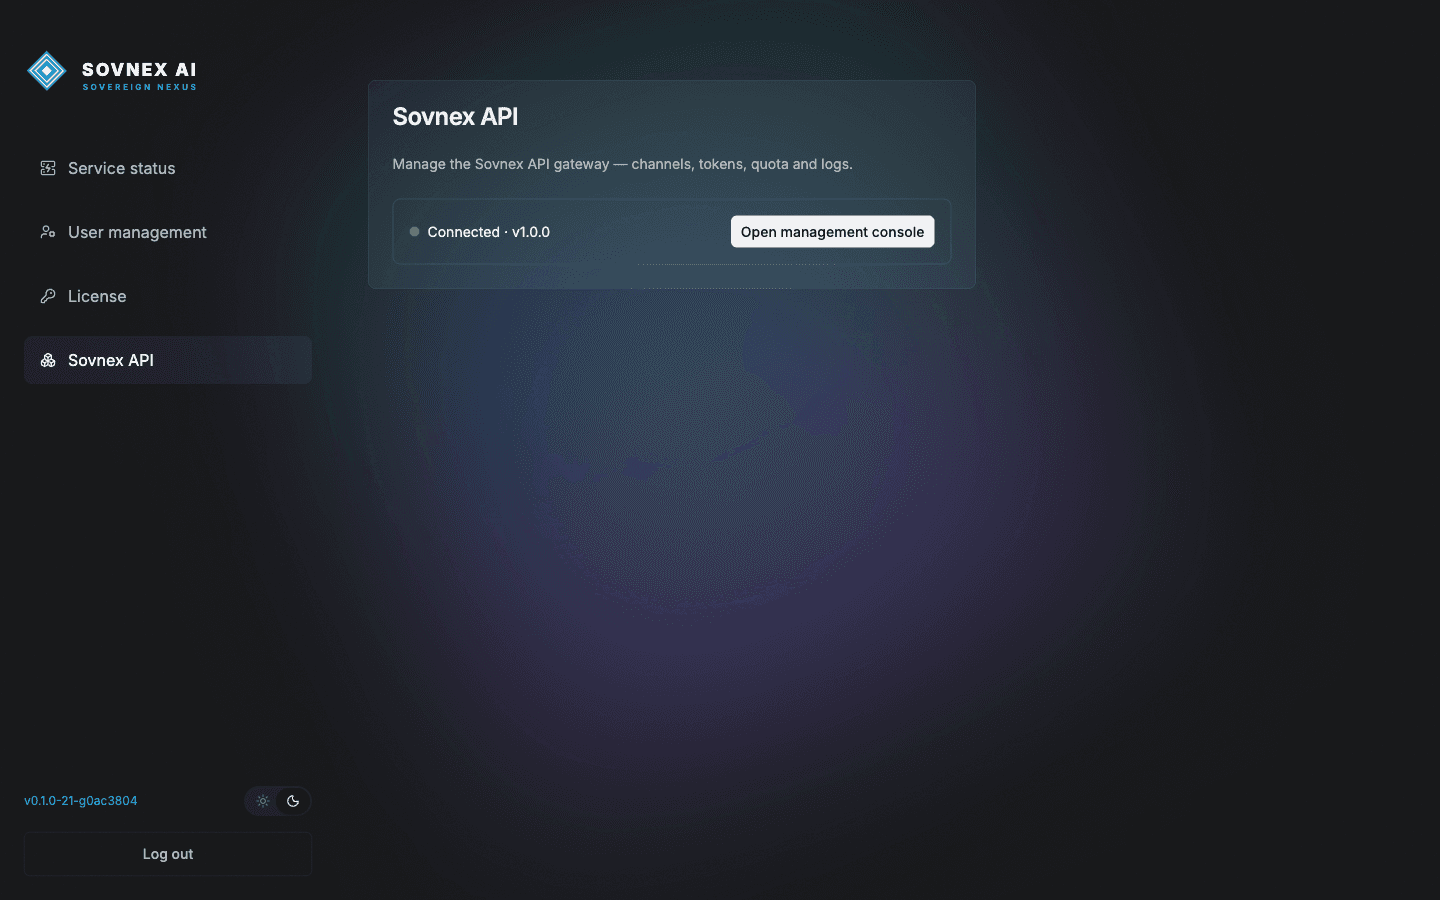
In the admin console, open Sovnex API. A green "Connected" status means the gateway is healthy. Click "Open management console" — it signs you in automatically in a new tab.
Add an Ollama channel
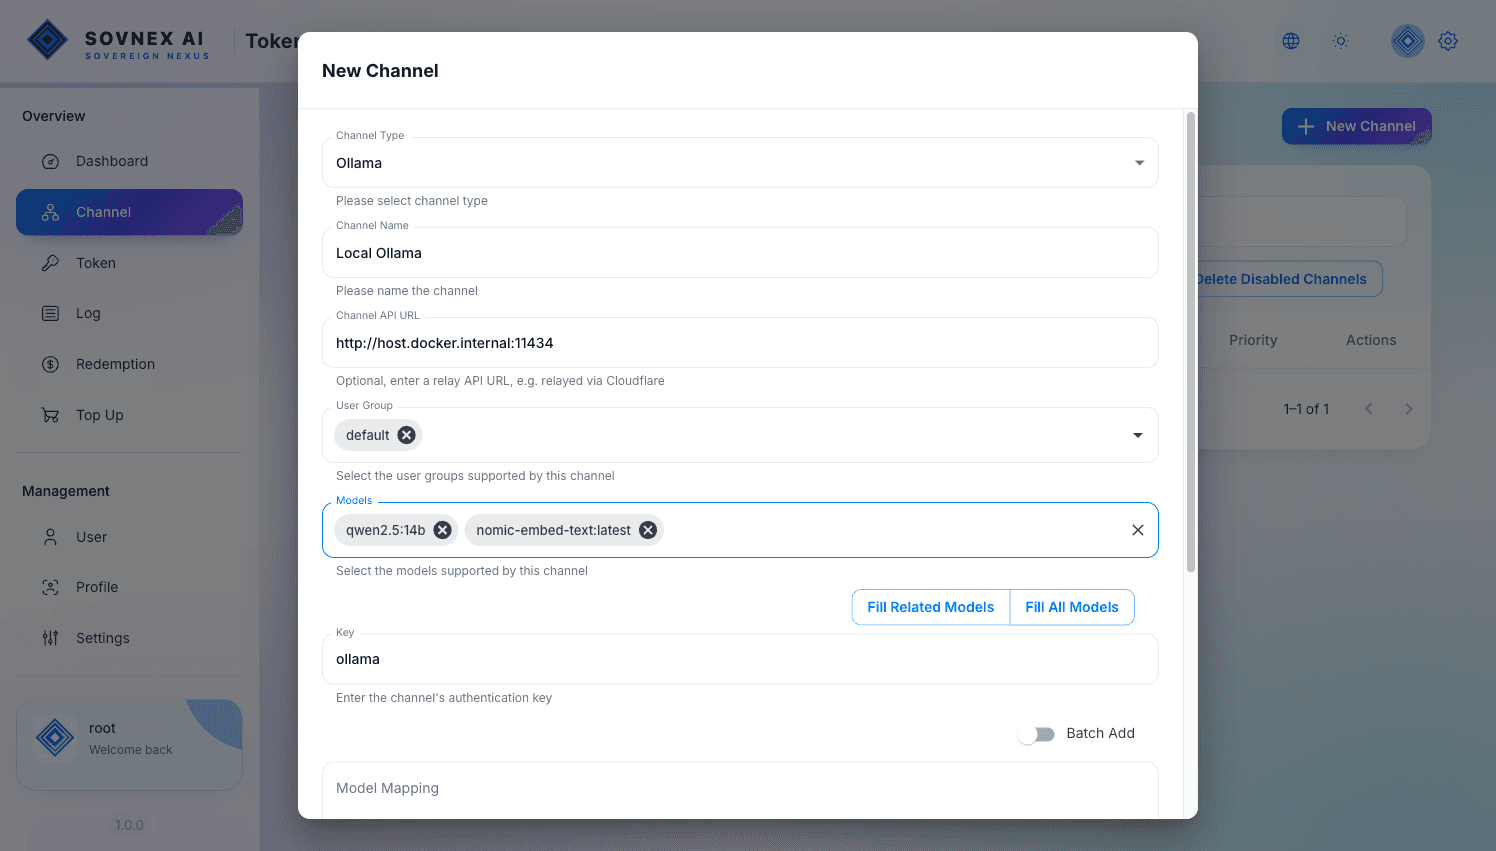
In the console go to Channel → New Channel and set Type = Ollama. Base URL is http://ollama:11434 on Linux or http://host.docker.internal:11434 on macOS (Docker Desktop), Key can be any non-empty value (e.g. ollama), and Models must be your real Ollama model names.
Save and verify the channel
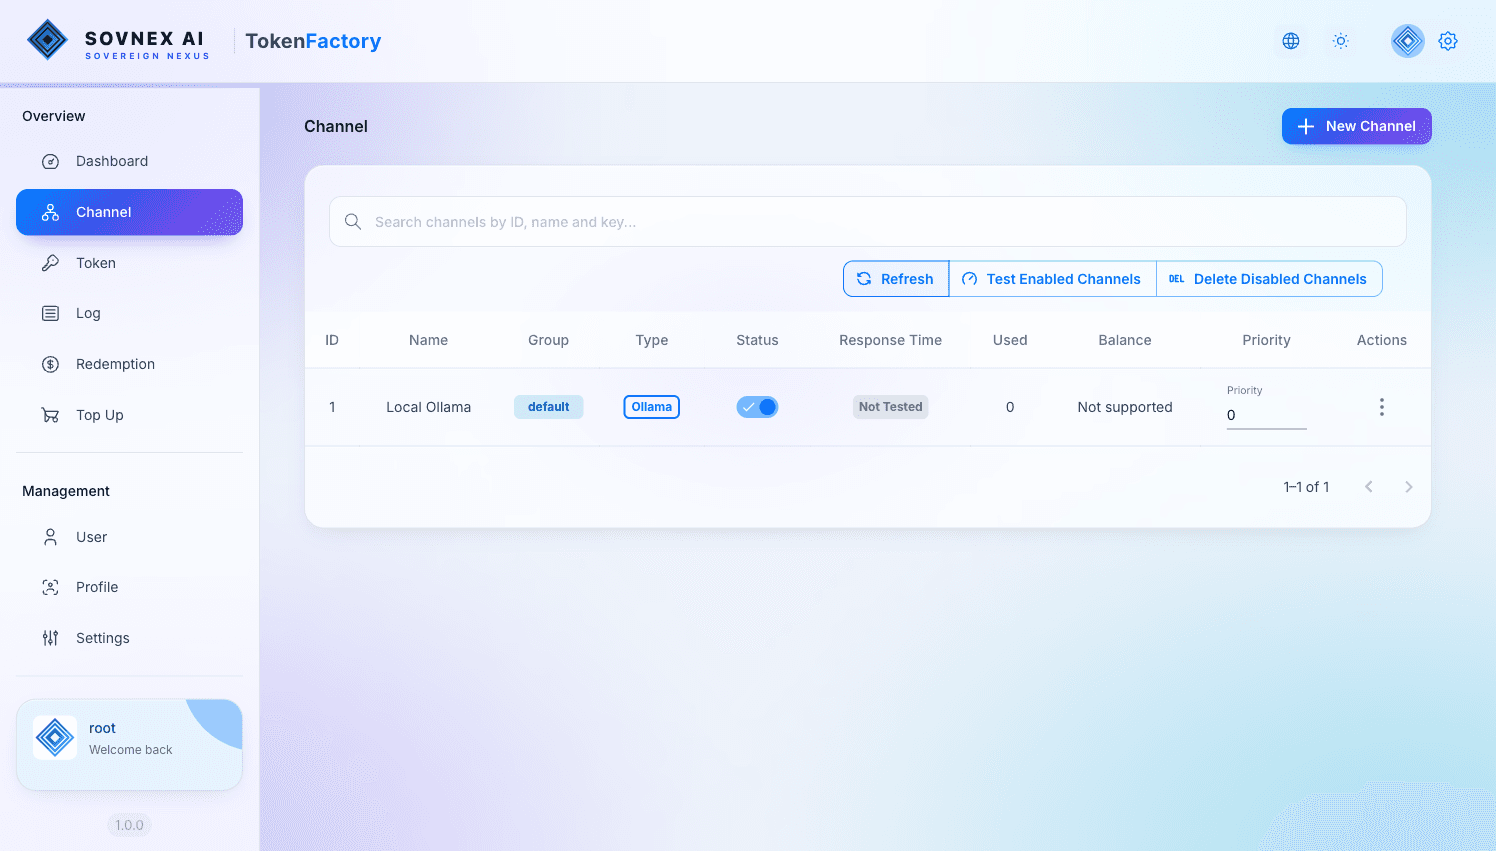
The channel appears as Enabled. Use "Test Enabled Channels" to confirm the gateway can reach Ollama and run a model.
Create an API token
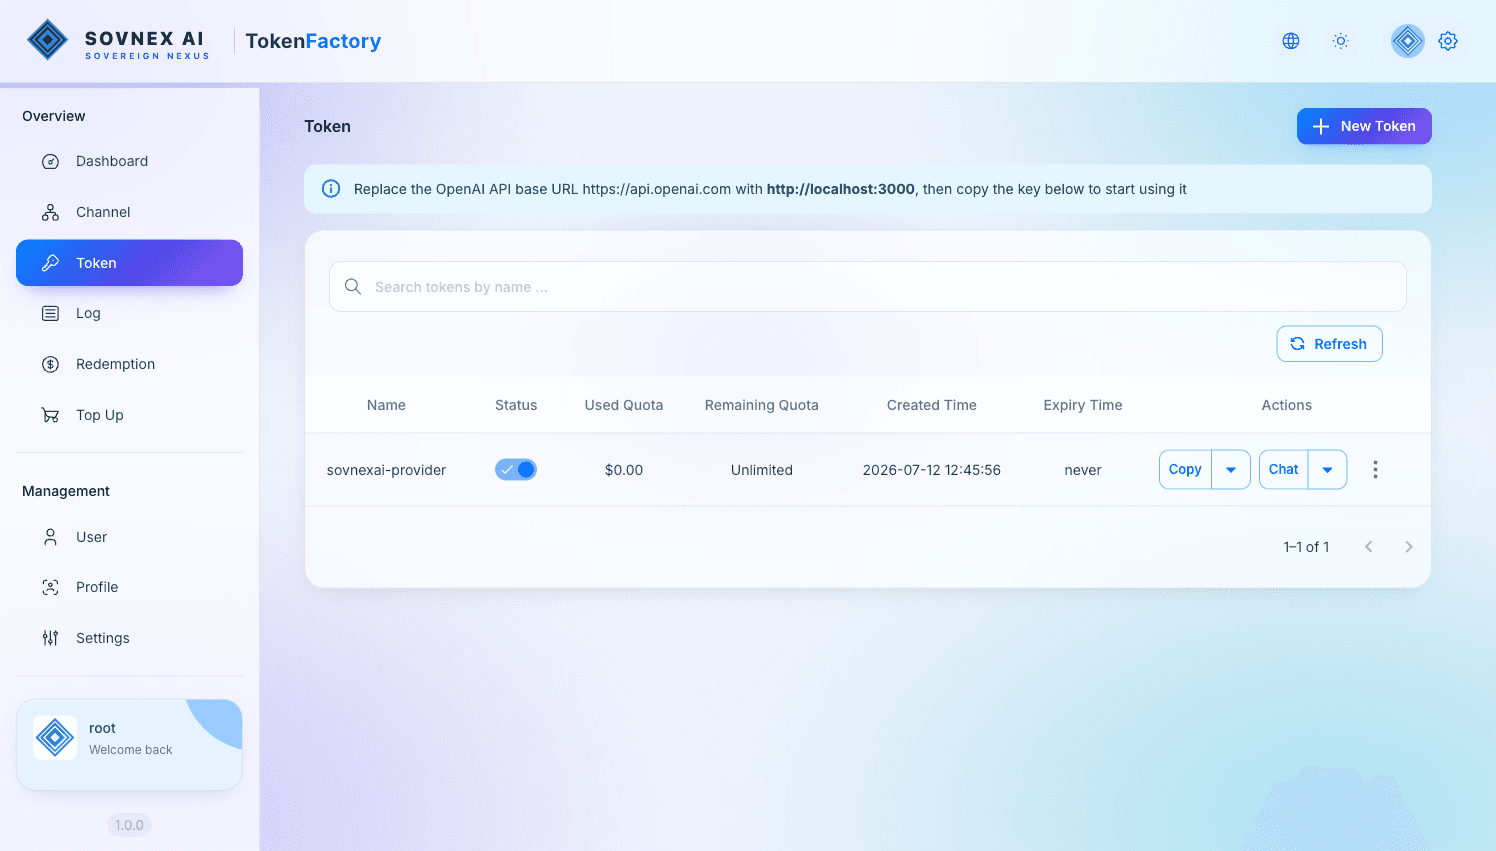
Go to Token and add a token. Its key (starts with sk-) is the API key your sovnexAI users will paste into the model provider in the next section.
Configure a model provider
Now let a sovnexAI user consume those models through the gateway. "Sovnex API" is a built-in provider, so the base URL is pre-filled for you — using the gateway as the example here.
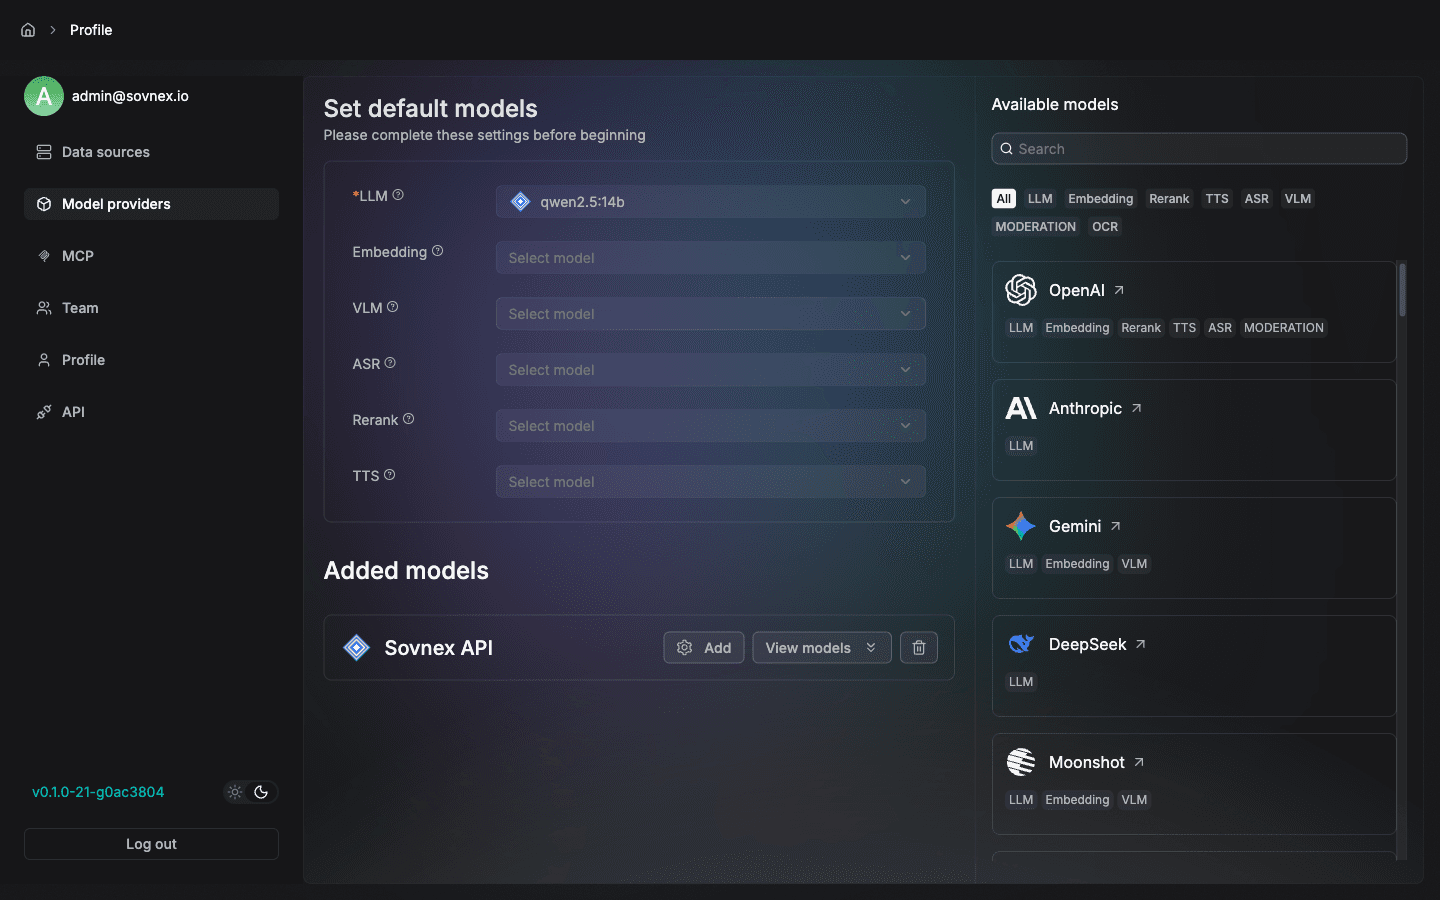
Open Model providers
Sign in to the app as a user, then open Settings → Model providers. "Sovnex API" sits at the top of the provider list.
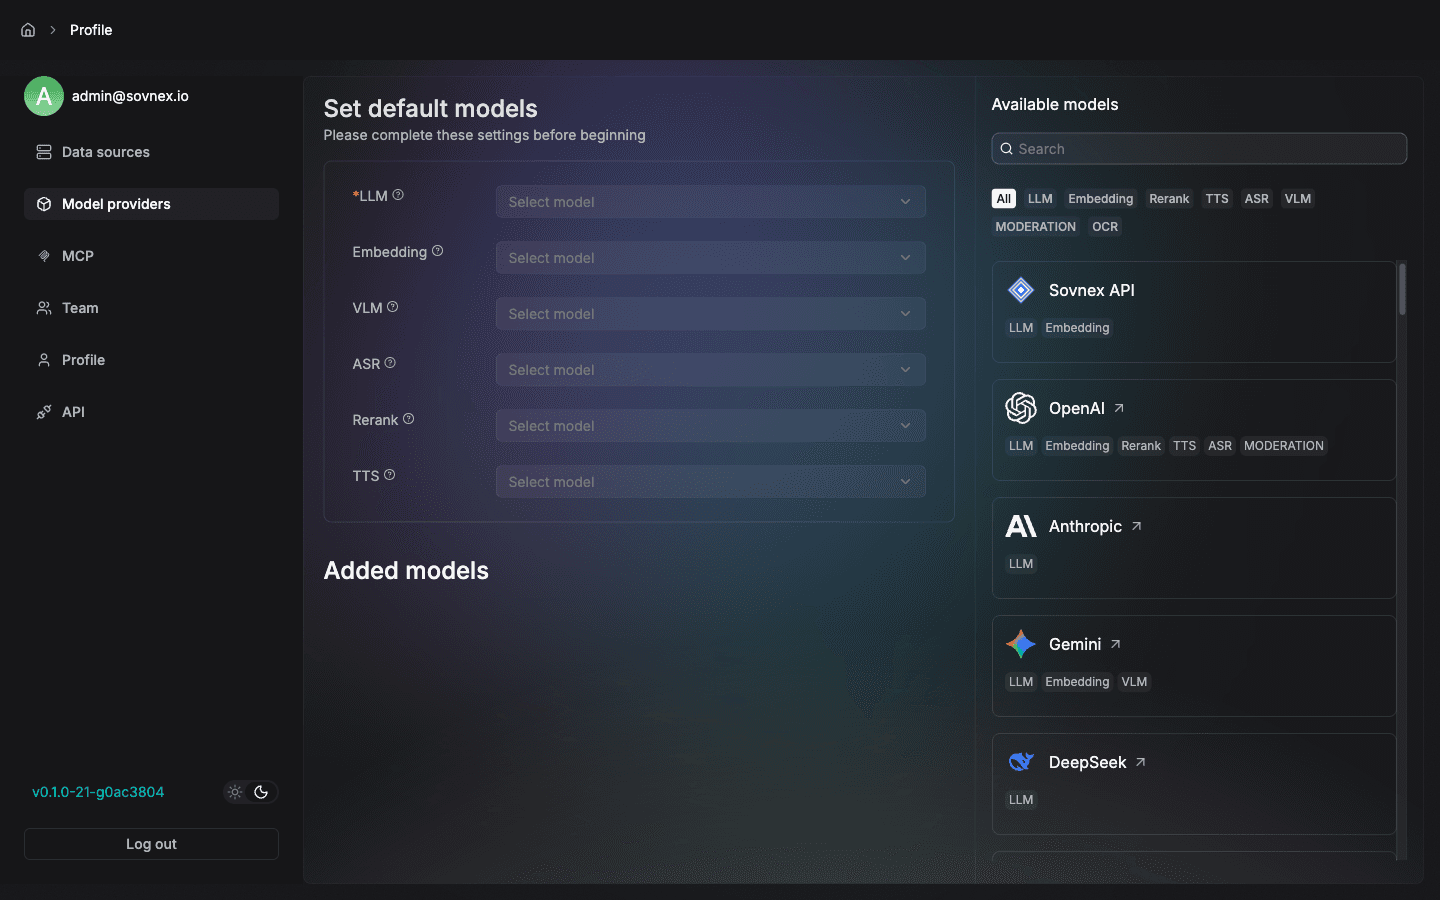
Add a model through the gateway
Click Sovnex API → Add. Choose model type Chat, enter the model name exactly as in the gateway (qwen2.5:14b), and paste the gateway token (sk-…) as the API-Key. Set Max tokens (e.g. 8192).
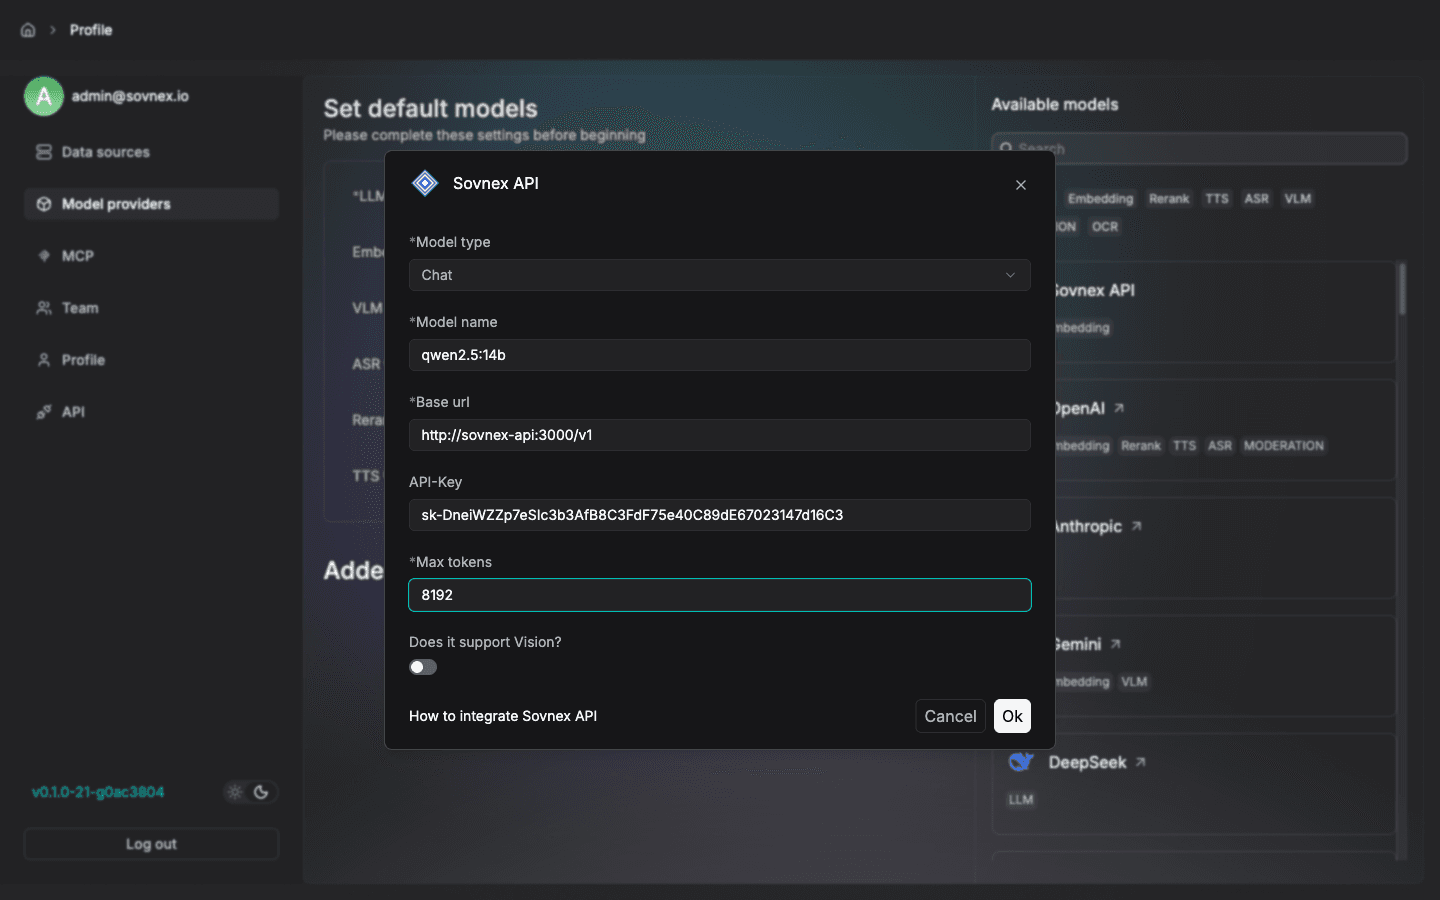
Set it as default and start using it
The model now appears under "Added models". Pick it as your default LLM (add nomic-embed-text as the Embedding model the same way). It is now available across Chat, Search and Agents.